Search
-
IndustriesIndustries
-
SolutionsSolutions
- Payment Processing
-
Payment Processing | Moneris
- Amex Credit Card Processing | Moneris
- <p>Cashless Payments | Moneris</p>
- Credit Card Machines | Moneris
- <p><span class="NormalTextRun SpellingErrorV2Themed SCXW61334356 BCX0" style="color: #000000; background-color: #ffffff; margin: 0px; padding: 0px; border-bottom: 1px solid transparent;">Debit</span><span class="NormalTextRun SCXW61334356 BCX0" style="color: #000000; background-color: #ffffff; margin: 0px; padding: 0px;"> </span><span class="NormalTextRun SpellingErrorV2Themed SCXW61334356 BCX0" style="color: #000000; background-color: #ffffff; margin: 0px; padding: 0px; border-bottom: 1px solid transparent;">Card</span><span class="NormalTextRun SCXW61334356 BCX0" style="color: #000000; background-color: #ffffff; margin: 0px; padding: 0px;"> Machines</span> | Moneris</p>
- Interac Debit Card Processing | Moneris
- Mastercard Payment Processing | Moneris
- Contactless Payments
- Accept Digital Wallets | Moneris
- Advanced Fraud Tools and Payment Fraud Solutions | Moneris
- B2B
- POS System | Moneris
- Self Checkout
- Terminals
- <p>Fraud Prevention | Moneris</p>
- Mobile
- Online
- Enterprise
-
SupportSupport
- Moneris Go Plus Support
- Account Management
- Mobile
- POS System
- Compliance
- Resources
-
Moneris Go
- Moneris Go PIN Pad A35 | Product Support | Moneris
- Moneris Go Terminal (A920) Support | Moneris
- Moneris Go Terminal (DX8000) Support
- Moneris Go Slim
- Moneris Go Unattended IM30 | Support
- Moneris Go Portal
- Moneris Go PIN Pad RX5000 | Product Support | Moneris
- Moneris Go Terminal (Victa Portable) Support | Moneris
- Devices
- Products
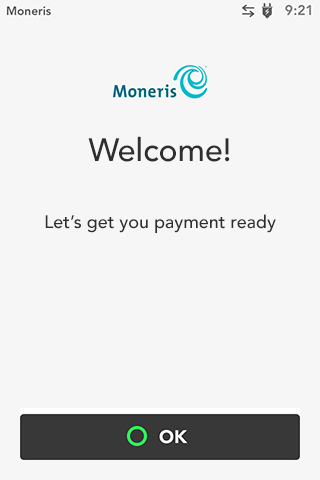
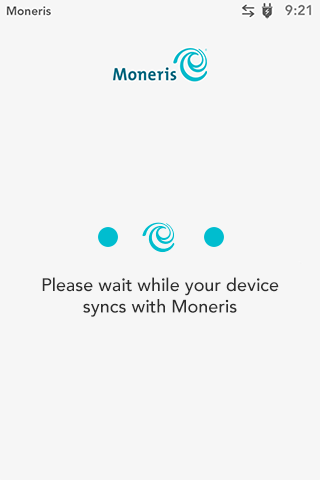
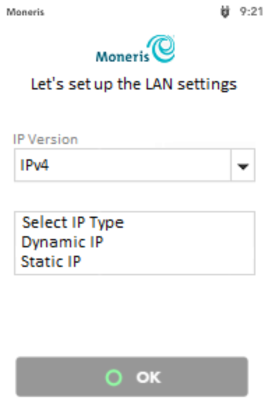
 key on the keypad). The PIN pad returns to an idle screen, displaying the PIN pad ID (a string of numbers beginning with “P1”, e.g. P1012345). The terminal displays the “Please wait while the terminal scans for the external pinpad…” message.