If you are the merchant account owner/primary user and want to add another store to your user account, follow the steps below to add the store. After you complete this procedure, you will have access to all the features of your Moneris Go portal store, and you can subsequently enable new users to access and use the store.
Note: If you do not have any stores linked to your user account, see Adding the first store to the primary user account.
Log into the Moneris Go portal (see Logging into the Moneris Go portal).
Ensure that you are on the "Stores" page (the "Stores" page shown below depicts a scenario wherein four stores are already added).
Note: If you are not already on the "Stores" page, click on your user account ![]() tile in the Moneris Go portal page header, and then click on My stores in the drop-down.
tile in the Moneris Go portal page header, and then click on My stores in the drop-down.
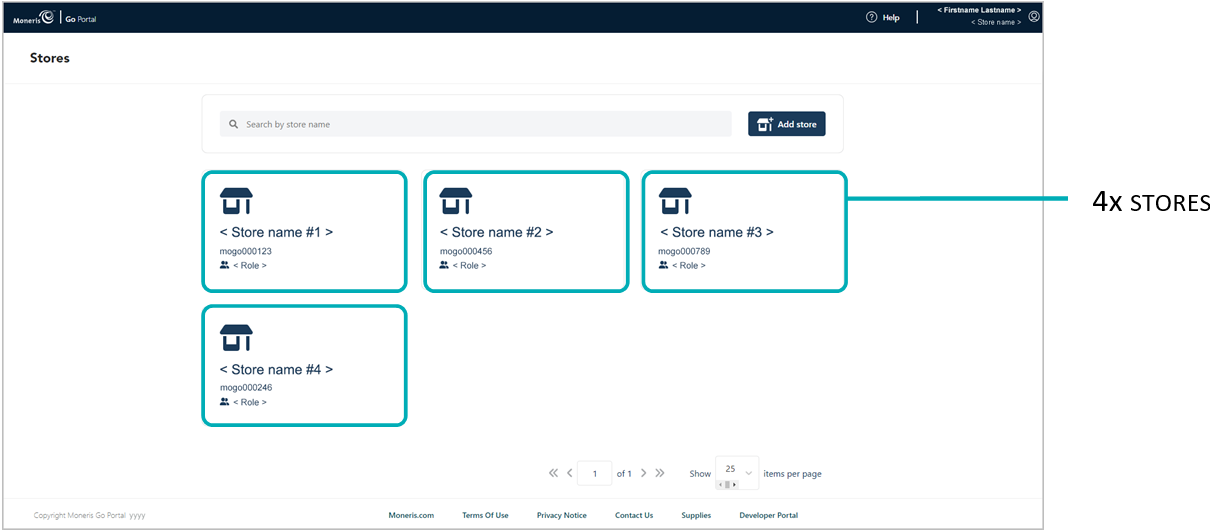
On the "Stores" page, click on the Add store button.
When the "Add store" window displays (shown below), fill in the fields with the required IDs, as provided to you (the primary account owner) by Moneris:

a. In the Store ID field, enter the store ID of the store that you want to add.
b. In the Merchant ID field, enter your 13-digit merchant ID.
c. Click on the Submit button.
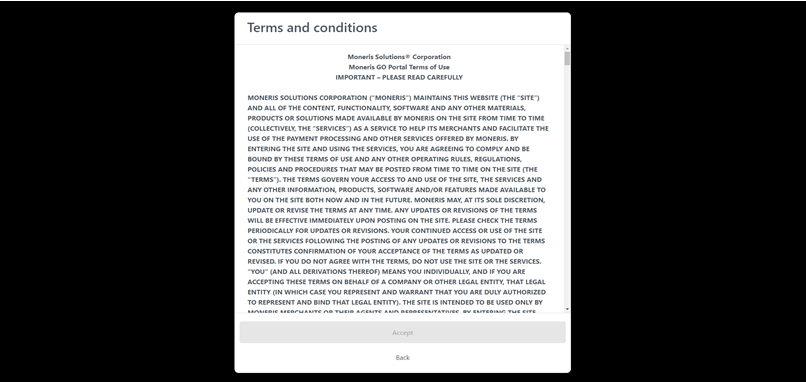
When the "Terms and conditions" page displays (shown below), scroll through and read the terms, and then click on the Accept button.
When the "Stores" page refreshes (shown below), confirm that the new store is added beside the other store tile(s) in the next available slot.
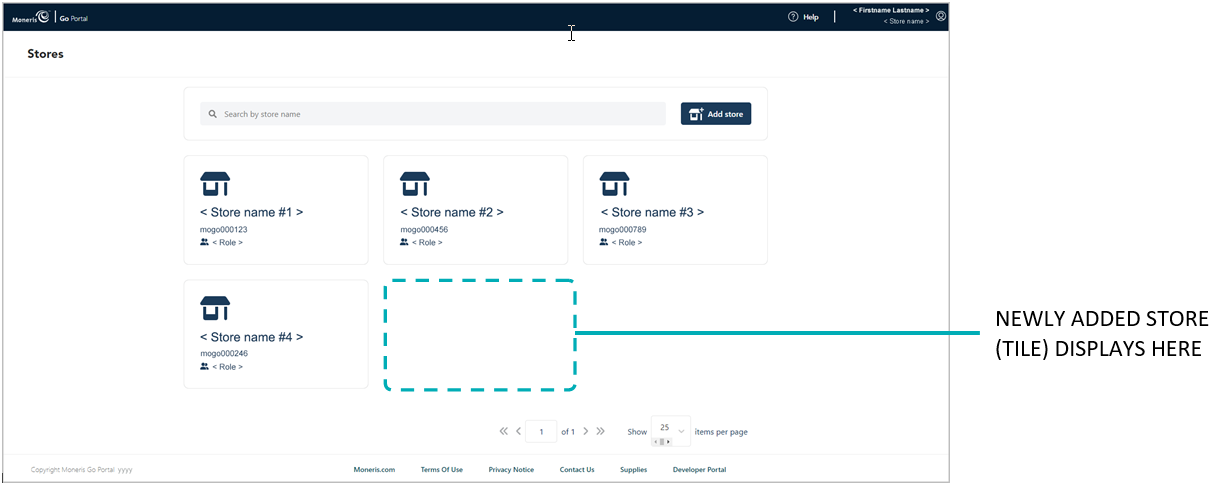
The operation is complete. (To access the newly added store, simply click on its store tile.)
Note: If you want to permit new or existing users to access/use the features available in the newly added store, you can add the user account(s) as desired (see Adding a new user account. You may duplicate the login credentials of an existing user account in each new store.