Moneris Core Semi-Integrated

Moneris Core Semi-Integrated is a function that allows you to easily integrate your Moneris terminal with your point of sale (POS) application creating a secure and convenient payment environment for you and your customers.

With Moneris Core Semi-Integrated, you can use your secure PCI-compliant terminal to allow your customers to :

§        enter their payment card information by tapping, inserting, or swiping their card;

§        enter a tip on the terminal, including tipping on the final dollar amount or on the pre-tax subtotal (when configured).

Note: Consult your POS integration provider for additional documentation.

Before getting started

Semi-integration methods

Integration methods by terminal

Setting up semi-integration on your terminal

Troubleshooting semi-integration


Before getting started

Before setting up your Moneris terminal for semi-integration, you must do the following:

§        Set up your terminal’s hardware and software.

§        For wireless terminals: Disable cellular communication (if applicable), enable Wi-Fi, and set up a Wi-Fi connection.

§        When using an IP network, ensure that your terminal always uses the same IP address in order to maintain a connection to your POS. You can accomplish this in 2 ways. Choose one:

§        Configure the network setup on your Moneris terminal to use static IP addressing. At the Main menu, tap Settings, Communication, and Communications setup, then follow these instructions.

§        Continue to use dynamic IP addressing, which is the default on your Moneris terminal, but configure your router to always assign the same IP address to the terminal. Contact your network team / IT department for assistance if needed.

§        Ensure you can process transactions in order to verify your terminal is connected to your own network and to the Moneris Host.


Semi-integration methods

There are 3 methods for integrating your Moneris terminal with your POS: USB, Ethernet, and Wi-Fi.

Integration method Description
Ethernet This method uses your local Ethernet network to connect your Moneris terminal to your POS.
Wi-Fi

This method uses your local Wi-Fi network to connect your Moneris terminal to your POS.

IMPORTANT!     Cellular communication (4G) must be disabled. If your wireless terminal switches to a cellular network, the connection to your POS will be lost.

USB This method uses a USB cable to connect your Moneris terminal to your POS.

Integration methods by terminal

The available integration methods vary according to your terminal as shown in this table.

Integration method V400c and Desk/5000 countertop terminals V400m and Move/5000 wireless terminals
Ethernet

Supported

Not supported

Wi-Fi

Not supported

Supported

USB

Supported

Not supported

Setting up semi-integration on your terminal

Follow these steps to enable Core Semi-Integrated on your Moneris terminal and to configure the integration settings to meet the needs of your business.

main menu

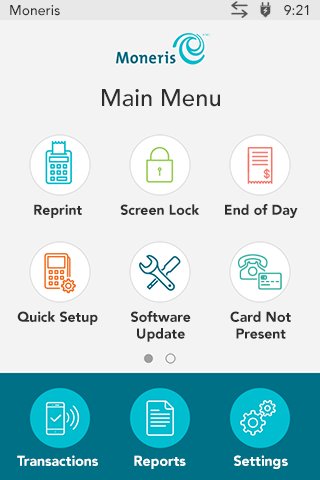
1.      At the Main menu, tap Settings, Application, and then Integration to get to the integration settings.

Integration option disabled

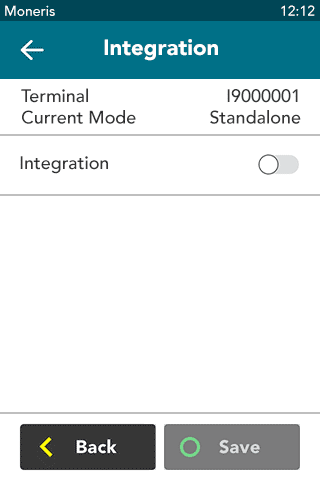
2.      Tap the Integration toggle to enable integration.

The Integration toggle becomes green and the Solutions Type field appears.

solution type

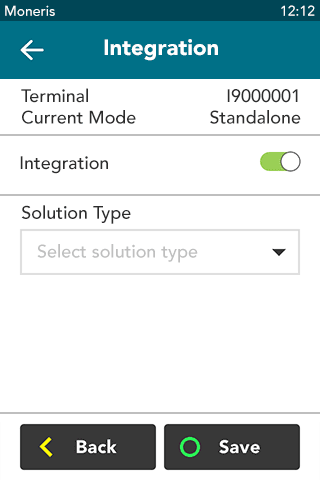
3.      Tap the Solution Type field and select Core Semi-Integrated.


Integration method

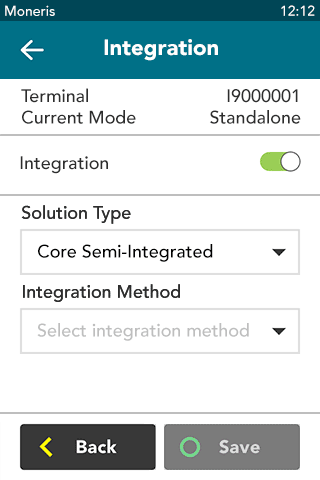
4.      Tap the Integration Method field, then tap USB, Ethernet, or Wi-Fi.

For more information about these integration methods, refer to Semi-integration methods, as well as Integration methods by terminal above .

§        For countertop (wired) terminals (V400c or Desk/5000), choose Ethernet and go to step 5; or choose USB and go to step 6.

§        For wireless terminals (V400m or Move/5000), the default value is Wi-Fi. Select Wi-Fi if not already selected, and then go to step 7.

§        Note: Cellular (4G) communication must be disabled. If your wireless terminal switches to a cellular network, the connection to your POS will be lost. To disable cellular communication and to enable Wi-Fi communication, refer to Dual communication settings (4G + Wi-Fi).

Integration method is Ethernet

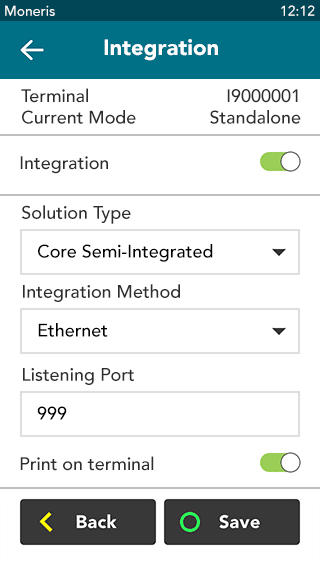
5.      You selected Ethernet. To implement Ethernet integration, your Moneris terminal and your POS must be physically connected by an Ethernet network.

a.      If you haven’t already done so, connect one end of the Ethernet cable to the multi-port box of your Moneris terminal. Connect the other end to your network infrastructure or directly to your POS, as applicable.

b.      On the screen, tap the Listening Port field and change the default port number if required.

c.       Tap the Print on terminal toggle to disable/enable support for printing receipts on the terminal. This option is enabled by default. If you disable it, all receipts will print on your POS printer.

d.      Tap Save.

e.      Go to step 8.

Integration method is USB

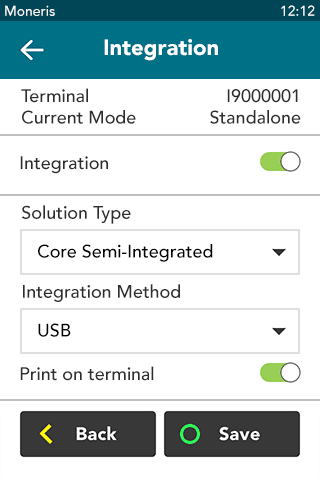
6.      You selected USB. To implement USB integration, your Moneris terminal and your POS must be physically connected by a USB cable.

a. Connect one end of a USB cable to your Moneris terminal. Connect the other end directly to your POS device.

b. On the screen, tap the Print on terminal toggle to disable/enable support for printing receipts on the terminal. This option is enabled by default. If you disable it, all receipts will print on your POS printer.

c. Tap Save.

d. Go to step 8.

Integration method is wifi

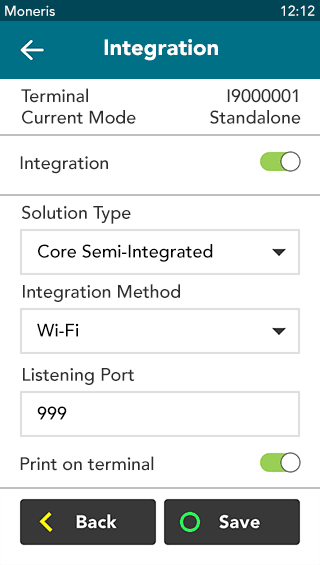
7.      You selected Wi-Fi. To implement Wi-Fi integration, your Moneris terminal and your POS must be on the same Wi-Fi network. To complete the integration, follow these steps.

a. Tap the Listening Port field and change the default port number if required.

b. Tap the Print on terminal toggle to disable/enable support for printing receipts on the terminal. This option is enabled by default. If you disable it, all receipts will print on your POS printer

c. Tap Save.

d. Go to step 8.

Settings saved

After you tap Save, the terminal returns to the Application Settings menu.

The “Settings Saved” notification also appears.

8.      Press the menu key on the keypad to return to the Main menu.


main menu

9.      The terminal returns to the Main menu.

Note:      When the terminal is in semi-integrated mode, the Transactions icon no longer appears on the Main menu. All transactions are initiated from your POS.

Main menu second screen

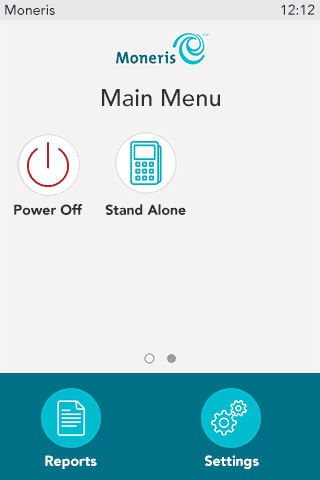
10.   To toggle back to standalone mode, as required:

a.      On the Main menu, swipe left to view the second screen.

b.      Tap Standalone.


Processing transactions in semi-integration mode