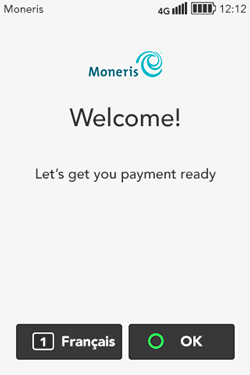
1. Tap OK.
For terminals with 4G communication: If the terminal is unable to connect to a cellular network (3G or 4G), refer to the error message "Cannot connect to host" in the Troubleshooting section and follow the instructions for a 4G connection.
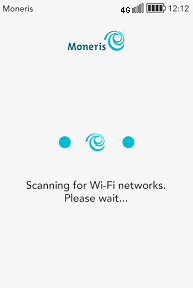
2. Wait while the terminal scans your environment for available Wi-Fi networks.
Note: The terminal will display only Wi-Fi networks that are password protected. If your Wi-Fi network is unprotected, it will not appear on the list of available networks on the next screen.
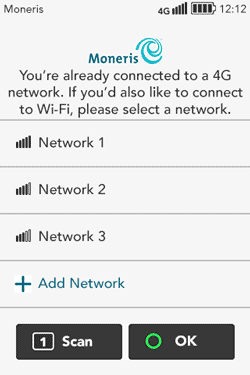
3. This screen shows the list of password-protected Wi-Fi networks found.
For terminals with 4G: Moneris recommends setting up a Wi-Fi network to complement the 4G network. As the terminal’s location changes, it will automatically switch to the signal that is stronger.
Choose what to do next:
§ To connect a Wi-Fi network from the list of available networks, tap a network and then go to step 4.
§ To scan again, tap Scan on the screen or press 1 on the keypad.
§ To manually add a Wi-Fi network, go to Manually add a Wi-Fi network.
§ For terminals with 4G: If you want to continue the setup using 4G communication only, go to Securing your terminal. You will be able to add a Wi-Fi network after the initial software setup.
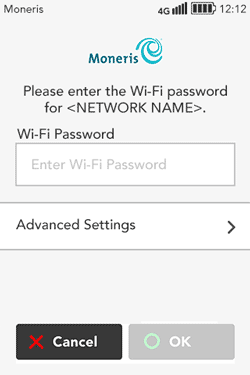
4. Provide the requested information:
§ Wi-Fi Password: Tap the field, enter the Wi-Fi password, then tap OK.
Note: The terminal will not connect to an unprotected network.
§ Advanced Settings: To set up a static IP address, tap Advanced Settings, then go to Advanced Wi-Fi settings. Otherwise, go to the next step.
5. Tap OK to connect to the Wi-Fi network you selected.
6. Wait while the terminal connects to Moneris to obtain your account settings.
If the terminal is unable to connect to Moneris, refer to the error message "Cannot connect to host" in the Troubleshooting section and follow the instructions for a Wi-Fi connection.