The steps below describe how to create a new Moneris hosted tokenization profile.
Important! To integrate Moneris hosted tokenization into your ecommerce solution, you need to create and configure your hosted tokenization profile in conjunction with developing your ecommerce solution according to Moneris' integration specifications as outlined in How to get started.
Log into the Moneris Go portal, and access the store through which you want to create the hosted tokenization profile (see Logging into the Moneris Go portal).
Note: If you have multiple stores linked to your user account , you can use the My Stores function to move between your stores (see Using My Stores).
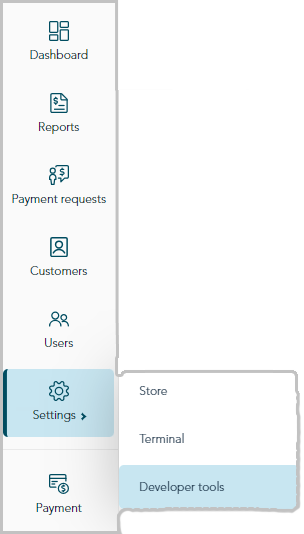
On the sidebar menu (shown below), click on Settings > Developer tools.
Note: If the sidebar menu is not displayed on your screen, click on the "menu" ![]() icon in the top left corner of your screen, or expand your browser window to display the sidebar menu.
icon in the top left corner of your screen, or expand your browser window to display the sidebar menu.
When the "Developer tools" page displays, click on the Hosted Tokenization tab to display the hosted tokenization control panel page (shown below).
Note: Any saved profiles are listed on this page.
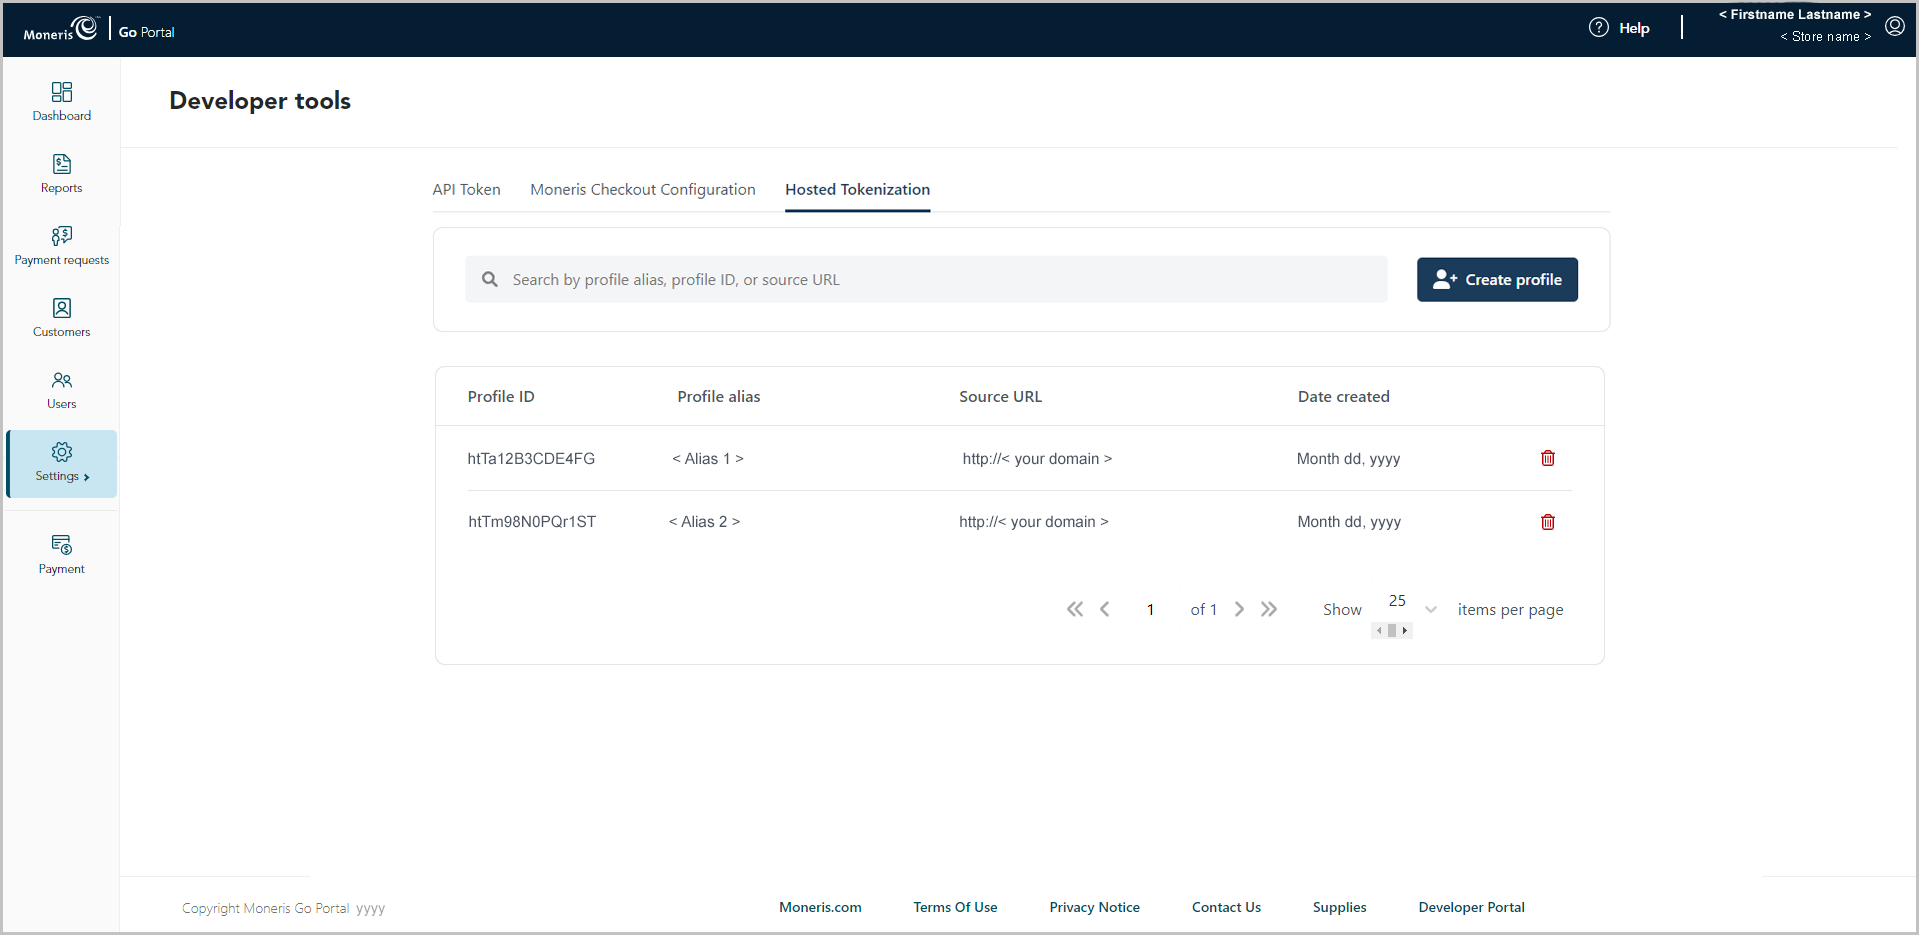
Click on the Create profile button.
When the "Create profile" window displays (shown below), do the following:
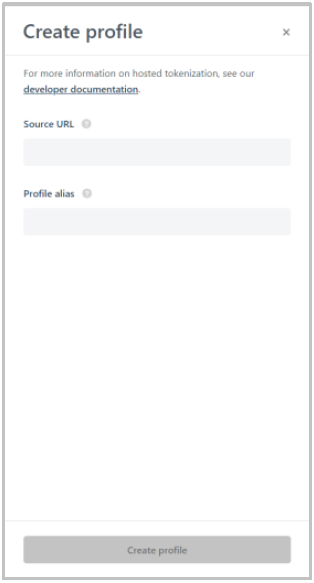
a. In the Source URL field, enter the address for the main outer page that will send transactions to Moneris.
b. In the Profile alias field, enter a customized alias that describes the profile.
Note: A unique alpha-numeric profile ID will be assigned to the profile once it is created.
c. Click on the Create profile button.
When the "New profile" window displays (shown below), do the following:
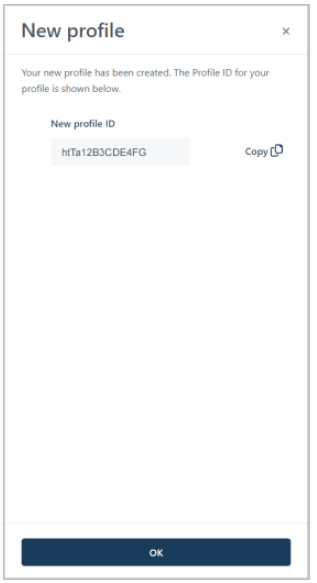
a. If you want to copy the profile ID to your clipboard now, click on the Copy ![]() icon in the window.
icon in the window.
Note: This ID must be included in your HTML iFrame code as specified in the integration guide.
b. When you are finished, click on the OK button to close the window.
When you confirm that the new profile is listed in the profiles list, the operation is complete.
Note: The profile alias, profile ID, and source URL are displayed in the profiles list.