Navigate the calendar
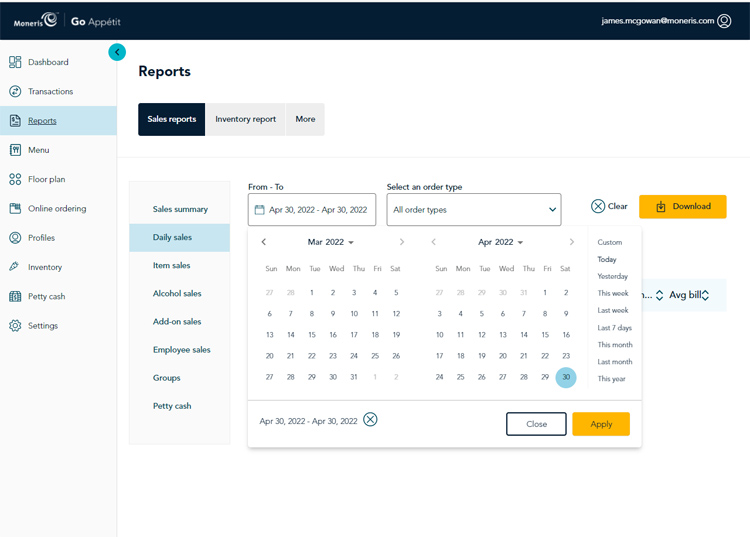
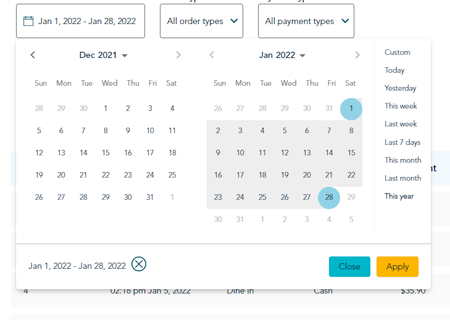
Each report in the portal contains a dynamic date selector, which features a calendar that displays with the current month and the last month by default. There are also preset selection options on the right side of the calendar. Access this date selector by clicking inside the From – To field in the report's screen.
Use these tips to navigate the on-screen calendar:
To select a single date for your report:
Selecting a date range involves clicking and dragging in the calendar. Follow the instructions below to select a date range for transactions.
The presets along the right side of the calendar are also available to help you quickly set a date range for your transaction search. Simply choose an option, then click the Apply button.
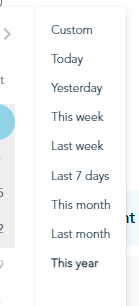
Note: These presets operate as of today's system date, so if today is April 29, 2022, then Yesterday would be considered to be April 28, and This month would be April 2022, and Last month would be considered March 2022, etc.
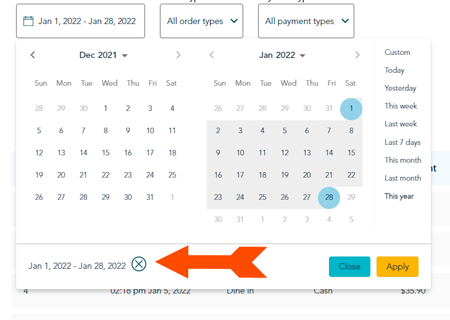
The date range you have selected appears in the bottom left corner of the calendar tool. Click on the X to reset the dates and begin a new search.