Charging the battery
1. Charge the terminal’s internal battery
for 4 hours using one of the following methods:
§ Optional charge-only
base (see below)
§ Direct-to-terminal
charge cable (see below).
Recommendations:
Always
plug the power cable into the power source last to avoid power surges.
Use a power bar equipped with surge protection where possible. Do not
use the power cable from your existing terminal, as it may damage your
new terminal.
Important: You
must use the exact power adaptor and cables provided by Moneris to work
with the Moneris Move/5000
terminal and base. Failure to do so may affect the operability of, or
cause damage to, the equipment.
Use the charge-only base |
Locate the
base's power cable. |
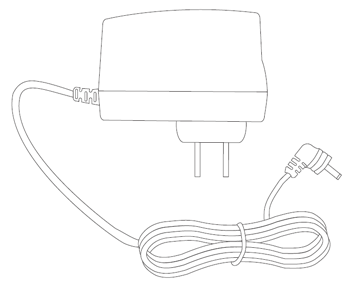
|
Turn the base over and open the panel cover
on the underside of the base. |
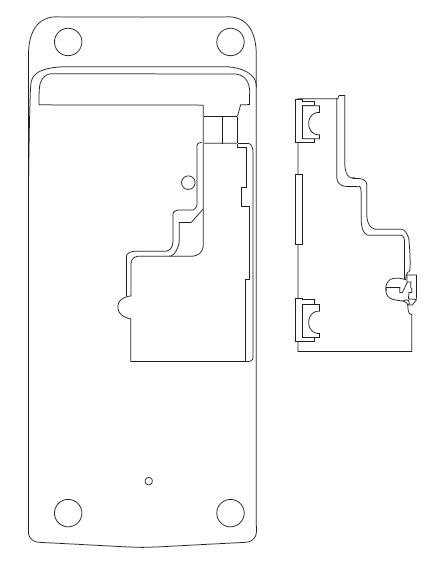
|
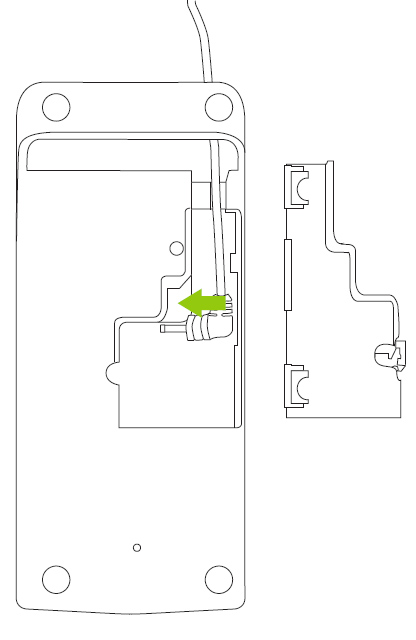
Insert the power cable
connector into the small circular port (power) in the underside
of the base. Replace the panel cover
on the bottom of the base, and turn it back over. Plug the other end of the cable into a working power
outlet. |
|
Dock
the terminal on the base. Ensure that the contacts slot on
the underside of the terminal fits securely over the leads
prong on the base. |
|
When the terminal powers on, proceed to step
2below. |
Using
the direct-to-terminal charge cable |
Locate
the direct-to-terminal charge cable. |
|
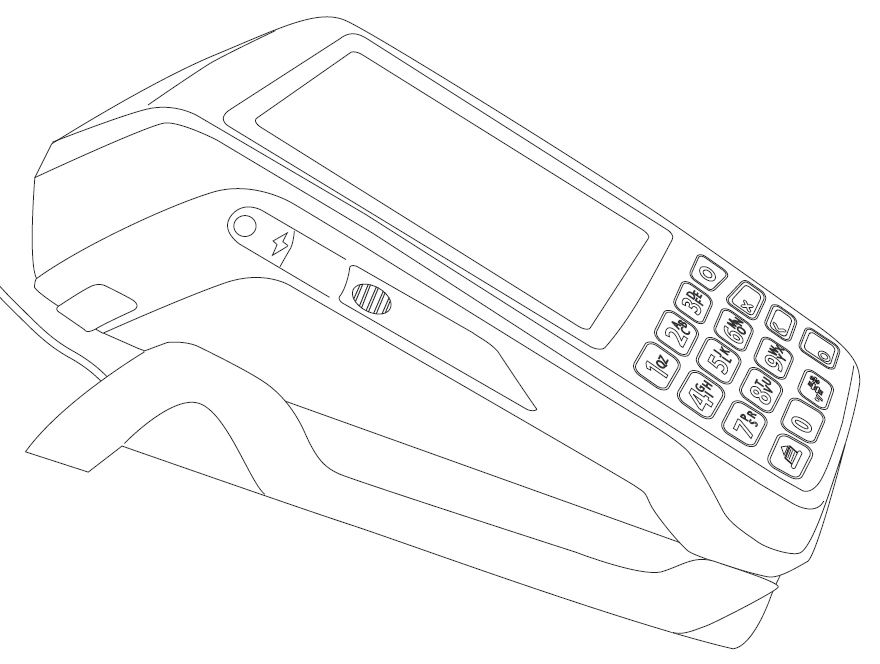
Locate
the power port on the left side of the terminal (marked with
the power symbol ( ). ). |
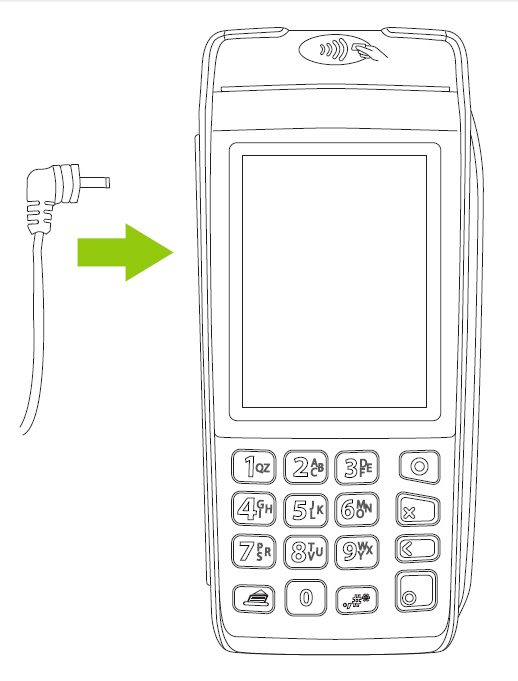
|
Insert
the direct-to-terminal cable connector into the port. |
|
Plug
the other end of the cable into a working power outlet.
|
When
the terminal powers on, proceed to step 2 below. |
2. Wait for the “Welcome! Let’s get you
payment ready” prompt to appear. (This should take about 60 seconds.)
3. Locate
the Battery icon appearing
at the top of the terminal screen in the status bar:

4. Wait for the Battery icon to display
the "lightning bolt" icon. This indicates that the battery is
charging and may take several minutes to appear.
Note: The "lightning bolt"
portion of the icon displays only if the terminal is connected to an external
power source.
Terminal
IS CONNECTED to external power source |
Terminal IS NOT CONNECTED to external
power source |

CHARGE LEVEL: 100% |

CHARGE LEVEL: 100%
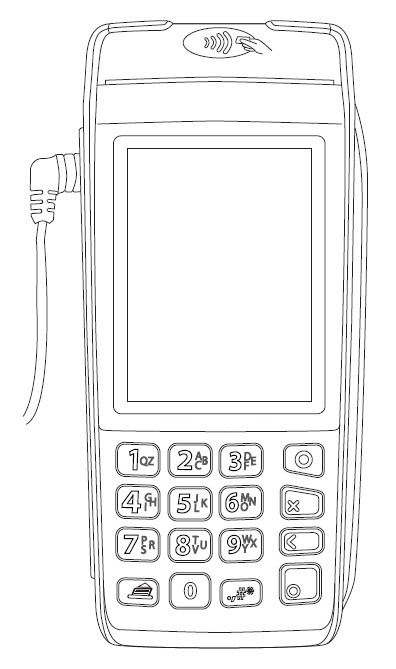
|
5. Keep the direct-to-terminal charge cable
(or the optional base charge cable) connected while continuing the rest
of the setup procedures.
6. Your hardware setup is complete. Go
to Software
setup.