
These instructions will guide you through the proper steps to properly initialize your Moneris Verifone terminals (Vx520, Vx810, Vx820).
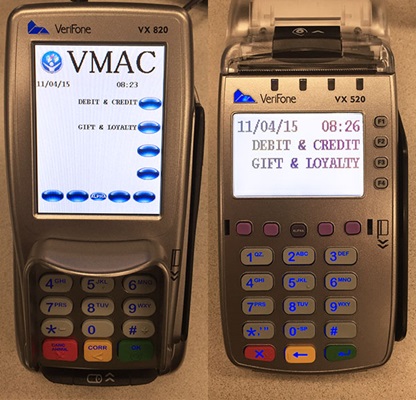
1. On the applications menu, select DEBIT & CREDIT.
The message "Activating App..." is displayed, then the transactions menu appears.
2. Press the green OK key to display the CONFIGURATION menu.
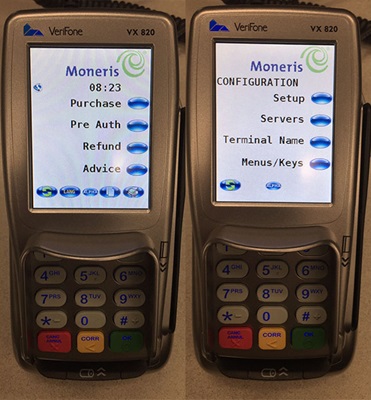
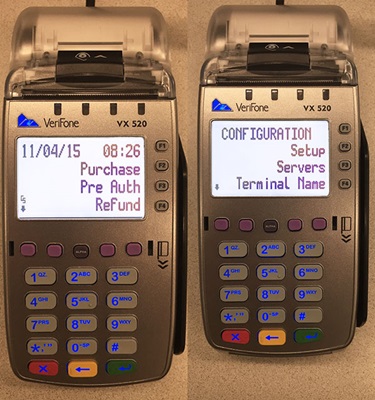
3. Scroll down and select Initialize.
If the "Password:" prompt appears, key in the manager password and press the green OK key.
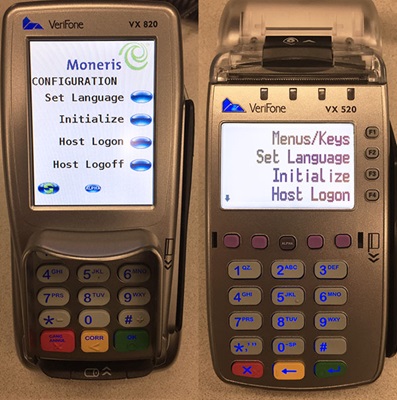
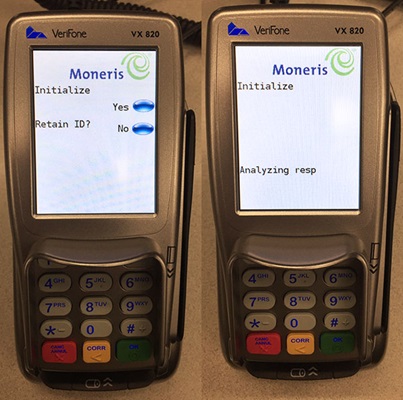
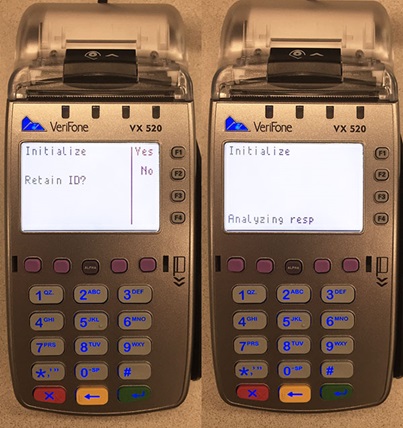
4. At the "Retain ID?" prompt, select Yes.
The terminal communicates with the Moneris host (this may take a few minutes). When the initialization is complete, the transactions menu re-appears.
5. If the "Host Logon Required" prompt appears, log on to the terminal.
Note: For instructions on initializing your terminal the first time, see Initializing Your Terminal.
The information in this article is provided solely for informational purposes and is not intended to be legal, business or other professional advice or an endorsement of any of the websites or services listed.
Share